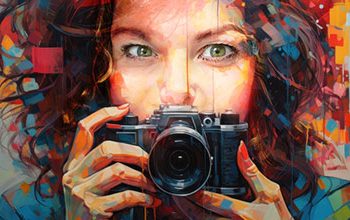
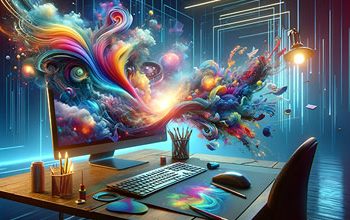
Digital painting gives you the freedom to explore and try new things.
Cameras are very good at capturing a scene in the present moment. Digitally photo painting can also expand the scene to express how the scene made us feel and what we imagined.
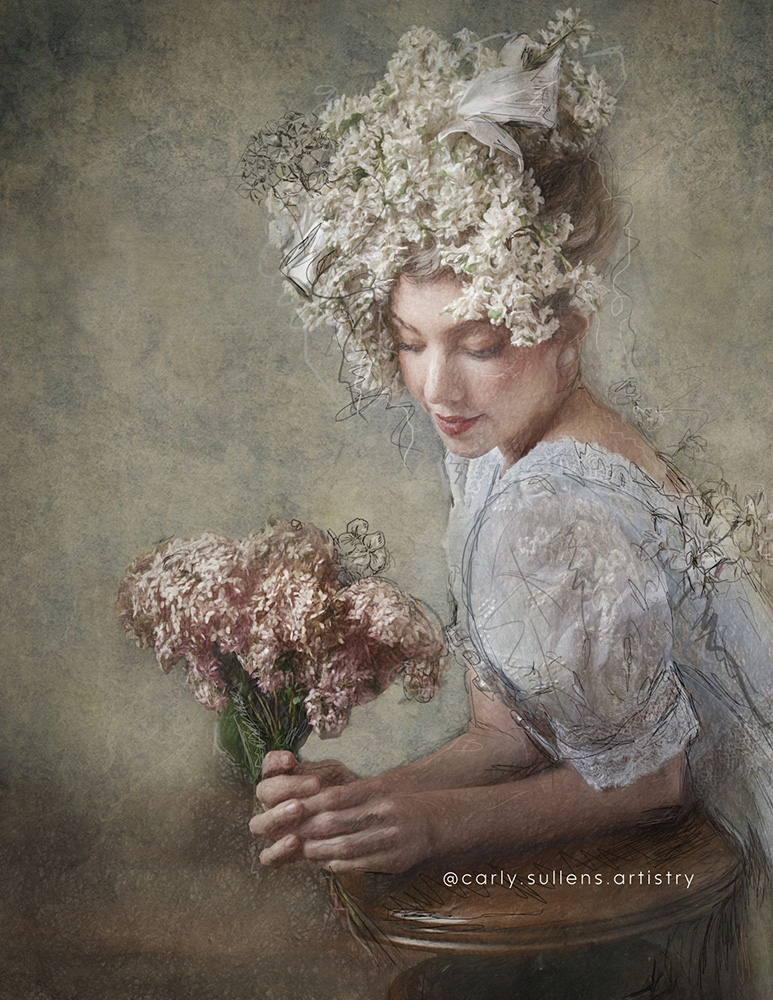
As a concept artist, I understand the need to augment photography to evoke mood and ideas over photo realism.
Digital painting is an amazing medium that allows artists to create their art without worrying about it being destroyed by mistakes. Unlike traditional painting, if you make a mistake while digitally painting, all you have to do is hit the undo button. If you have made several mistakes, you will go back one step each time you press the undo button. If you paint on different layers, you can correct the layer without affecting the other portions of the painting.
Turning photos into photo art isn’t as difficult as one may think; learning a few tips and tricks will have you creating digital art in no time!
Just a few supplies are needed to turn a photo into a digital painting.
- Digital Photo – Every digital photo painting starts with at least one photo. The colors, shapes, and images are pulled from this photo. This could be one of your own photos or a stock image.
- Digital Editing Software – Besides a computer or tablet, you will need photo editing software to digitally paint a photograph. Such as Photoshop, Luminar Neo, or Procreate.
- Digital Brushes – Different digital brushes will give you distinct different results. Most editing software comes with digital brushes. Additionally, there are a ton out there you can download.
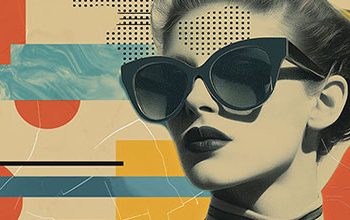
- Textures & Overlays – Artistic painted textures and overlays easily add painterly effects to your photos. They can give it an immediate impact and a painterly look.
- Painted Backgrounds – Digital backgrounds are a great way to instantly give your photos a painterly look.
Additional Optional Accessories
- Graphics tablet and Stylus – Holding a pen is also much more ergonomic than using a mouse. What really sets drawing tablets apart from a mouse is better precision and pressure sensitivity.
- Apple Pencil – An Apple Pencil is an add-on tool for the iPad to write, sketch, and paint with even greater precision. It communicates effectively with the iPad, with instant pairing, enhanced precision, and true pressure sensitivity.
With a stylus, you’ll have finer-grained control over your hand movements.
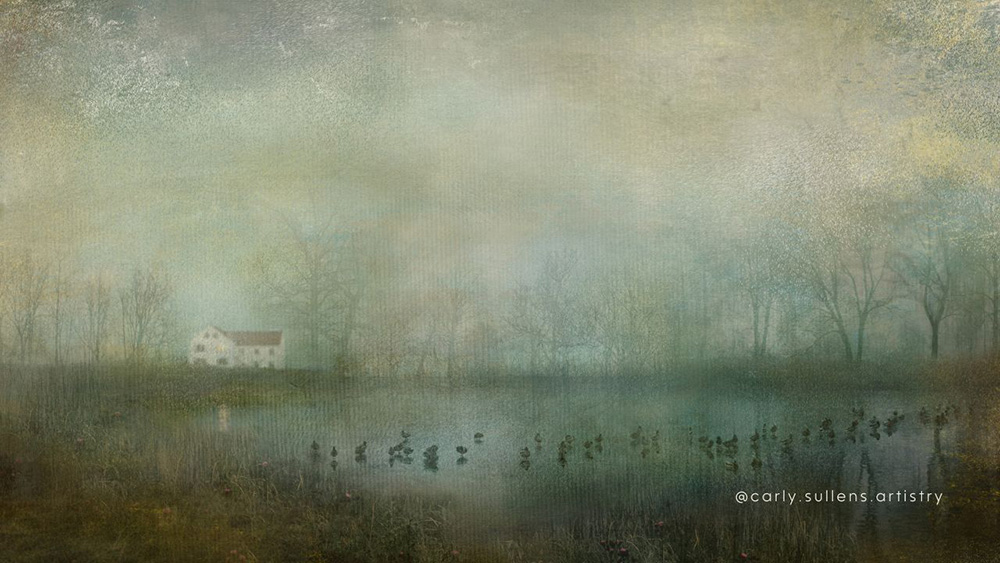
It is important to understand that different techniques result in different effects. All techniques have their unique way of being artistic. Some editing software can do all the techniques, while others can only do one or two.
- Digital Brush Method – The digital brush method uses editing software with a digital brush capable of cloning the photo’s pixels and moving or brushing them based on the creator’s technique. This method most closely replicates the feel of painting on canvas.
- Layering Method – The layering method uses editing software capable of stacking several layers on top of one another. Pre-made painterly backgrounds, overlays, and textures are often used. The creator changes the opacity and blending modes to see each layer. Even though you are not using a digital brush, the layering method can be surprisingly painterly and artistic.
- Composite to Digital Painting – Composite art combines two or more photos to create one cohesive image. Composite to photo painting is taking it another step further. Once you create the seamless image, you apply digital photo painting techniques to make it look like a painting.
Want to learn more about digital photo painting?
Explore Painted Camera
Painted Camera offers easy-to-follow online education & resources for photographers who want to learn how to be photographic artists.
Look for a future post on “Where to Begin Painting Digitally?”


