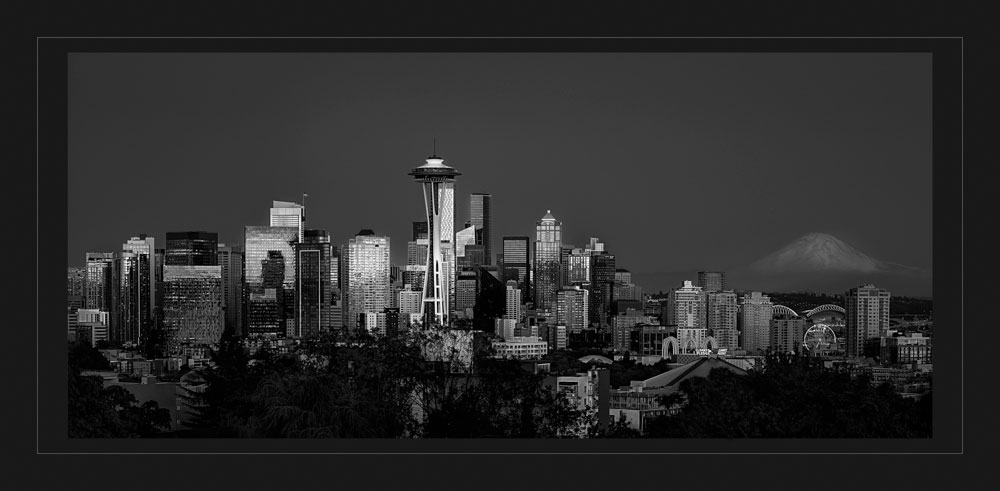
This photo was taken at Kerry Park in Seattle. I was helping a professional photographer with a workshop she was doing. Seeing Seattle from this viewpoint I thought this could be a good B&W photo.
I was shooting with a GFX 100s. ISO 100 – 1 sec exposure – f9 with 64 mm focal length. I was lucky with the light from the setting sun and light from the city. Post processed the photo in Photoshop.
I am 78 years old and very active in photography. I took up photography when I was 60 right before retirement from being a dentist. I have been very lucky to be around a lot of professional photographers over that last eighteen years and have learned so much from. I also have taken a lot of online and in person course of Lightroom and Photoshop.
Here are the steps I use to create dynamic black and white images –
In Lightroom
Correct Aberrations
Enable Profile
In Photoshop
B&W Point (I know this outdated but it works for me)
- Curves 2 layers
- 5 by 5 sample size
- Find white point with white eye dropper
- Find black point with black eye dropper
- Move left slider to right for the white point on one Curves Layer
- Move right slider to left for the black point on other Curves Layer
- Shift click to high light both layers and put into a Group
Merge layers = Shift-Option-Command-E
- 2 Channels
- Command – 3 [Red] 4 [Green] 5 [Blue] 2 [Color] on your keyboard to see which Channel has the best contrast
Go to Channels
- Worst one highlight. Usually the Blue Channel will have the least contrast Image – Apply Image
- Layer – Merged
- Channel – put in the channel you like either Red – Green – Blue
- Blending – Normal
- Click top channel which is RGB to get back to your photo
- Blend Mode to Luminosity
- Merge layers – Shift-Option-Command-E
If photo does not have much Saturation add some to the photo for contrast
Hue & Saturation
- Make two Hue Saturation Layers
- Top Layer – Saturation all the way left to make it B&W
- Blend Mode to Color
- Highlight the lower Hue & Saturation layer
- Move Saturation slider to a right around 30 to get more contrast
- Move Hue slider from one end to other end and determine how you want your photo to look
- Hue & Saturation sliders only. Don’t use Lightness slider
- Saturation is always in the + range
- Once you like your photo move Saturation slider back to around 15
- Put both Sat Hue layers in Group
If you want more adjustments, put another Hue Sat layer below the Hue Saturation Group. Don’t use Master but go through all the colors and adjust the Hue – Sat – Lightness to what you like.
I know these are a lot of steps, but I like how the photo turns out. To save time you can create an action for each color to make all this easier.
I loved B&W from the start mostly because I was not very good for a few years with post processing photos in color. I developed feel for what to look for in a photo that would be in B&W. I also became very efficient and comfortable in my post processing for B&W photos in Photoshop. My main love is street photography and second is landscape.
