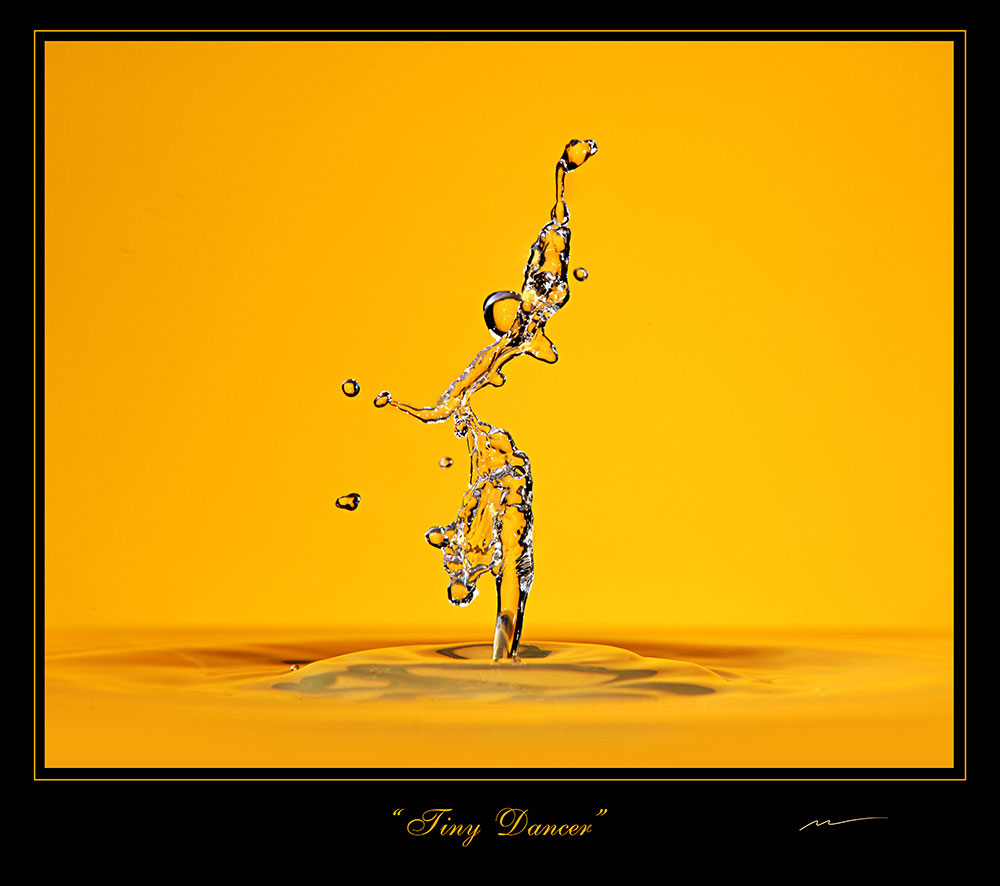
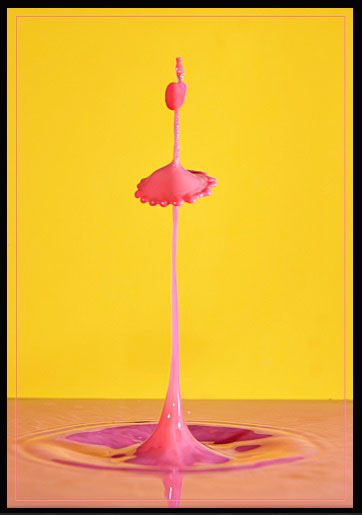
If you’ve ever marveled at a photo of a crown-shaped splash frozen midair or a collision of two drops forming an elegant umbrella, you’ve seen the magic of water drop photography. This niche genre blends art, science, and technology—and thanks to tools like the MIOPS Splash system, it’s now easier than ever to create stunning results.
What is Water Drop Photography?
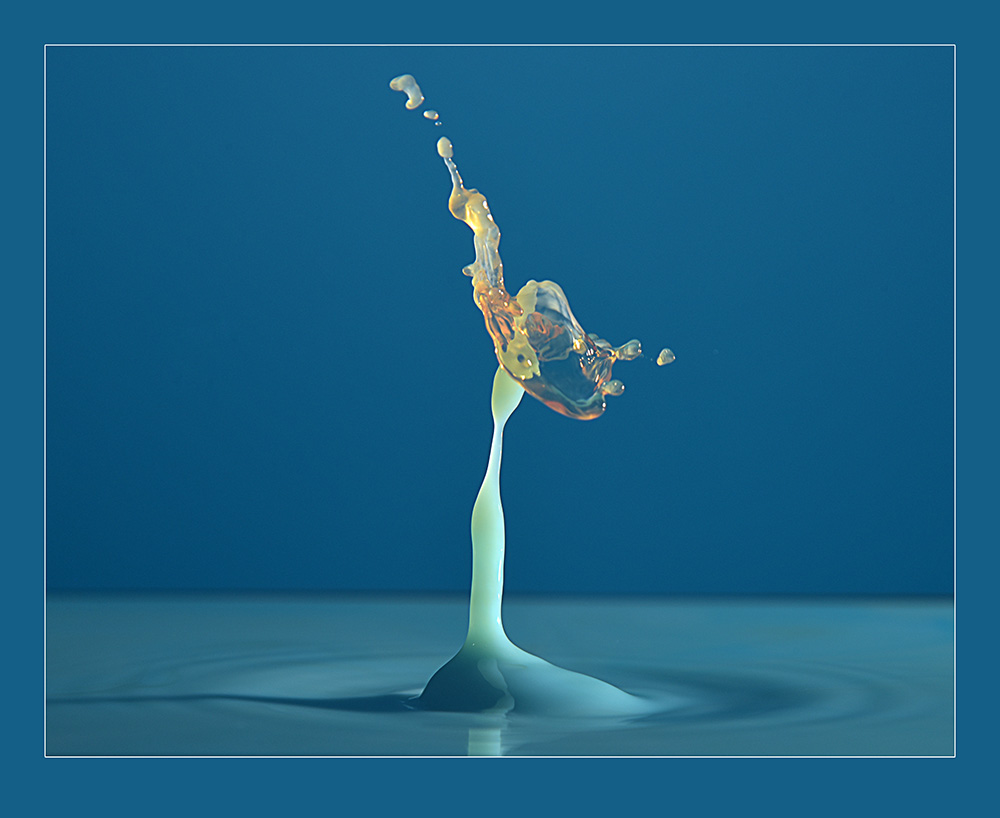
Water drop photography involves capturing the precise moment a drop of liquid falls and collides—either with another drop, a surface, or itself. These split-second interactions create fascinating shapes, from mushroom caps to delicate crowns. The challenge lies in timing: the entire event unfolds in just a few milliseconds.
Enter MIOPS: Precision in Every Drop
MIOPS is a company known for smart photography gear, and their MIOPS Splash device is tailor-made for water drop photography. It automates the release of one or more drops, then triggers your camera or flash at exactly the right moment. No more guesswork, no more missed shots—just consistency, control, and creativity.
What You’ll Need
To start creating water drop masterpieces, you’ll need:
- MIOPS Splash kit (including the dropper, controller, and clamp)
- A DSLR or mirrorless camera
- Macro lens or a telephoto lens with close focusing capability
- Off-camera flash (essential for freezing motion)
- A tripod for your camera
- A shallow container (like a black tray or glass bowl)
- A backdrop (can be black, colored, or custom printed)
- A dark room or controlled lighting environment
Optional: colored gels, milk or cream for opacity, food dye for creativity.
Setup Basics
- Mount the MIOPS Splash above your container, using the clamp or a stand.
- Connect the Splash unit to your smartphone via Bluetooth using the MIOPS app.
- Align your camera and focus manually where the drop will fall (use a pencil or skewer for precision).
- Set up the flash off-camera at an angle. You’ll freeze the drop with the flash, not shutter speed.
- Use the app to control drop size, delay, and collisions. Start with single drops, then experiment with two-drop collisions.
Camera Settings (as a starting point)
- Mode: Manual
- Shutter speed: 1/200 sec (your flash freezes the motion)
- Aperture: f/11 to f/16 (good depth of field)
- ISO: 100–400 (keep it clean)
- Manual focus: Lock it in at the drop point
Tips for Stunning Results
- Consistency is key: MIOPS makes drop timing reliable, but lighting and camera positioning still require experimentation.
- Change liquids: Try adding glycerin to thicken water, or use milk for a solid look.
- Use colored gels or backdrops: Dramatic backgrounds and colored flashes can elevate your shots.
- Watch reflections: Avoid glare by angling your lights carefully.
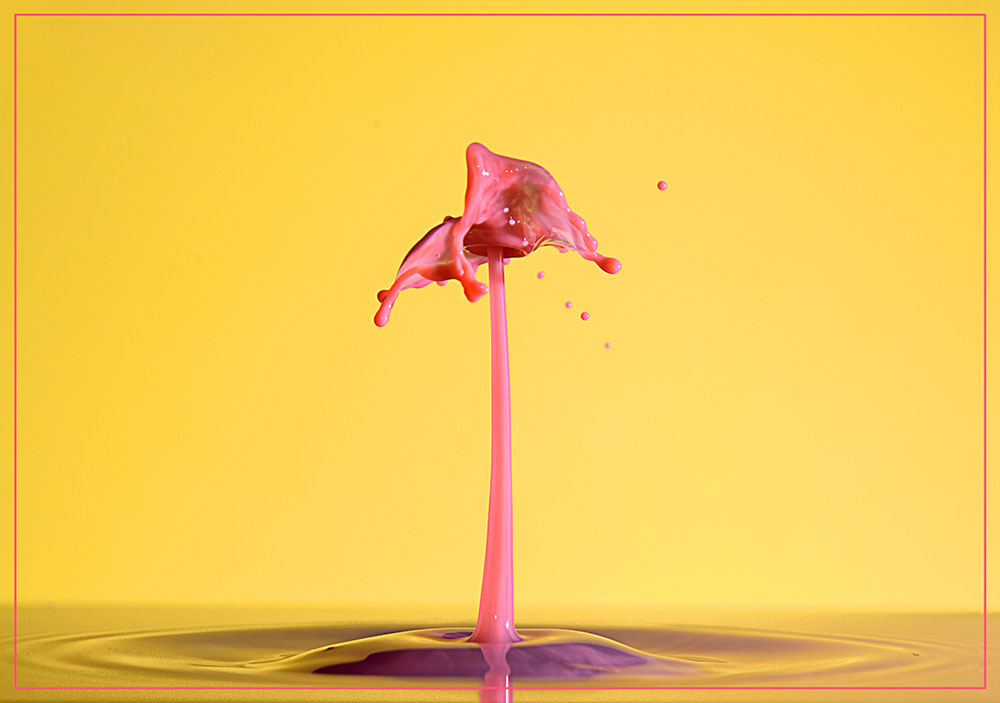
- Experiment with collisions: Start with one drop, then trigger a second drop to collide midair for “umbrella” shapes.
Post-Processing
Water drop photos often benefit from contrast and clarity adjustments. You might also crop for composition or clean up stray splashes. Tools like Lightroom and Photoshop allow fine control, but try to get it right in-camera first.
Final Thoughts
Water drop photography combines technical mastery and artistic expression. With the MIOPS Splash system, you’re not just taking photos—you’re crafting visual sculptures out of liquid and light. Whether you’re a curious beginner or a seasoned pro, it’s a fun and endlessly creative rabbit hole to explore.
So slow down, get your setup just right, and start chasing that perfect splash. You’ll be amazed at what just a drop can do.