Lighting is one of the most critical aspects of outdoor photography, as it sets the mood, highlights details, and defines the overall quality of your photos. Below are tips and techniques to elevate your outdoor photography lighting:
1. Leverage Natural Light
- Golden Hour Magic: Shoot during the golden hour—shortly after sunrise or before sunset—when the light is soft, warm, and diffused.
- Blue Hour Mood: For a cooler, atmospheric feel, shoot during the blue hour—just before sunrise or after sunset.
- Avoid Harsh Midday Light: Midday sunlight can be harsh and create unflattering shadows. If you must shoot at this time, look for shaded areas or use modifiers.
2. Use Reflectors
- Bounce Light: A reflector can help redirect sunlight onto your subject, filling in shadows and adding dimension.
- Choose the Right Surface: Use a silver reflector for bright, neutral light; a gold reflector for warm tones; or a white reflector for soft, natural light.

3. Master Backlighting
- Position the Sun Behind the Subject: Backlighting creates a beautiful halo effect, particularly during golden hour.
- Expose for the Subject: Adjust your settings to properly expose the subject while letting the background slightly overexpose for a dreamy look.
- Use a Fill Light: Add a reflector or flash to illuminate your subject’s front side if backlighting causes shadows.

4. Modify Harsh Light
- Use a Diffuser: A portable diffuser softens harsh sunlight, creating a more even and flattering light on your subject.
- Find Open Shade: Move your subject to shaded areas like under a tree, near a building, or a covered porch for softer light.
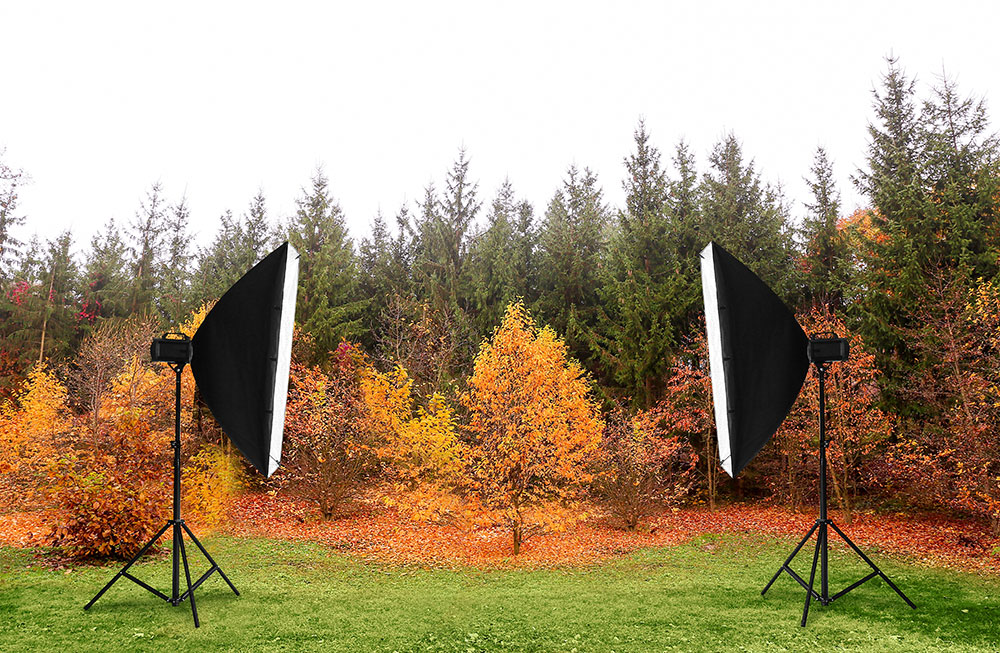
5. Incorporate Artificial Light
- Use an External Flash or Speedlight: A well-balanced flash can fill in shadows or add pop to your subject.
- Invest in Portable LED Lights: Continuous lights are useful for adding subtle illumination, especially in low-light conditions.
- Utilize Off-Camera Flash: Create dramatic lighting effects by positioning the flash off to the side or behind your subject.
6. Watch Your Shadows
- Check Shadow Placement: Ensure shadows enhance, rather than distract from, the subject.
- Use Shadows Creatively: Cast interesting shadows with objects like trees, fences, or blinds for artistic compositions.
7. Balance Exposure with the Sky
- Use a Graduated ND Filter: A neutral density filter helps balance bright skies with darker landscapes, keeping details visible in both.
- Bracketing: Take multiple exposures at different settings and blend them later to achieve a balanced image.
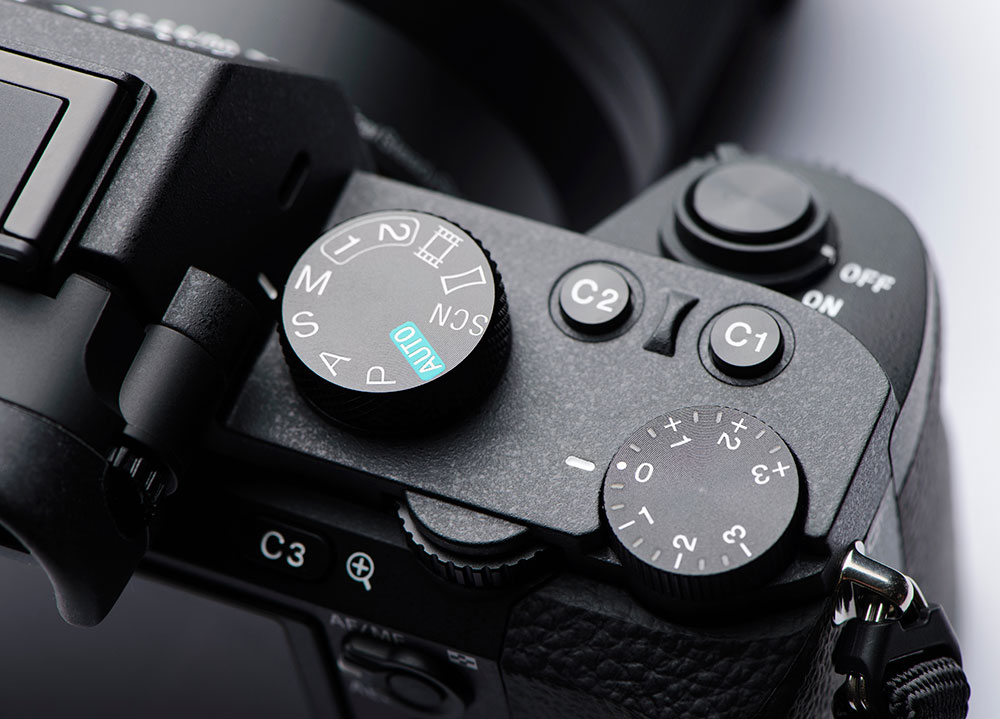
8. Adjust Your Camera Settings
- Shoot in Manual Mode: Take control of shutter speed, aperture, and ISO to adapt to changing light conditions.
- Use Spot Metering: Meter for your subject to ensure proper exposure in high-contrast scenes.
- Lower ISO: Keep ISO low to avoid noise in bright conditions.
9. Observe and Adapt
- Follow the Light: Move around your subject to observe how light interacts with them from different angles.
- Change Angles: Experiment with shooting from above, below, or the side to find the most flattering light direction.

10. Embrace Overcast Skies
- Use Soft, Diffused Light: Overcast conditions act as a giant softbox, reducing harsh shadows and creating flattering light for portraits.
- Enhance Colors: Cloudy skies can make colors appear more vibrant and saturated.
11. Incorporate Rim or Side Lighting
- Create Drama: Position light to the side or slightly behind your subject for depth and texture.
- Control Flare: Use a lens hood or your hand to prevent unwanted lens flares while maintaining directional lighting.
12. Post-Processing Enhancements
- Enhance Highlights and Shadows: Use Lightroom or Photoshop to fine-tune the lighting in your images.
- Remove Color Casts: Correct any unflattering tints caused by reflected light.
- Add Vignettes: Subtle vignettes can draw attention to your subject.
With these tips, you’ll be able to add variety to your outdoor lighting and capture stunning, well-lit photos in any situation.