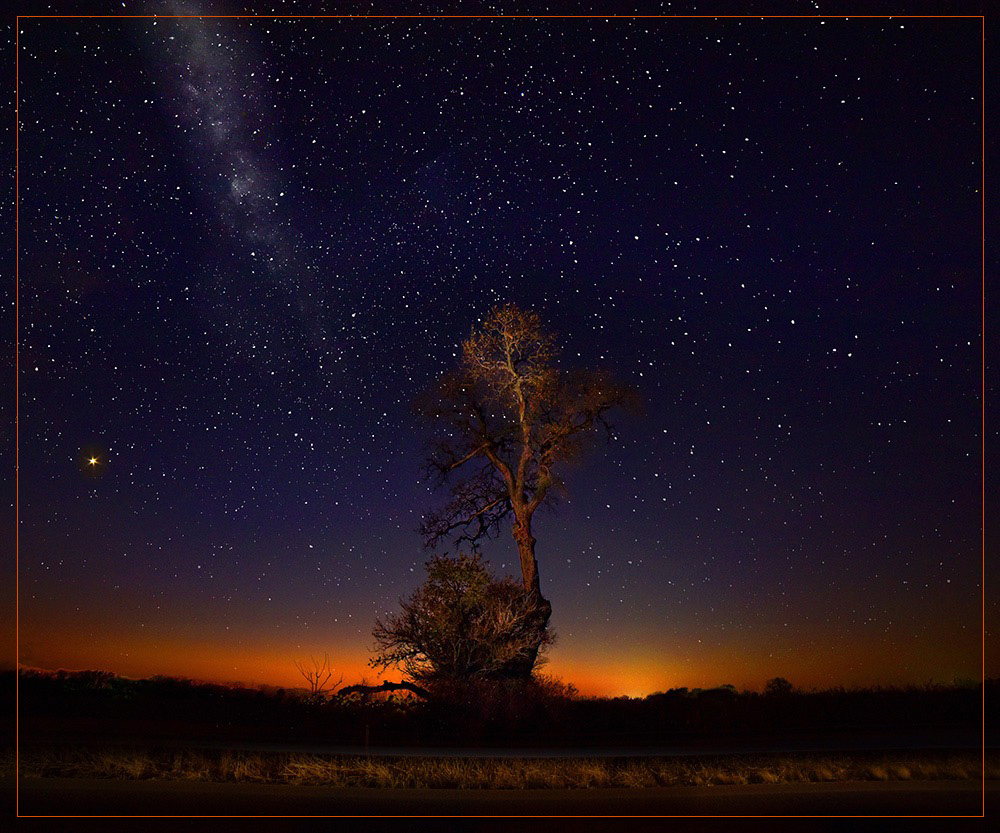
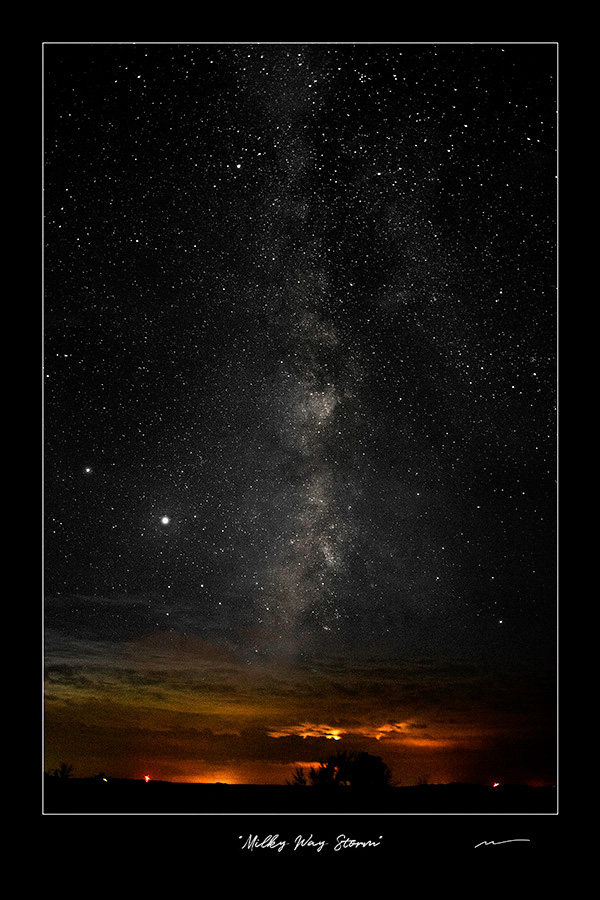
Astrophotography is fun and inspiring. It never gets old seeing the images pop up on the back of the camera after a time exposure and seeing all these stars that your eyes can’t see.
I got into astrophotography a couple of years ago on my own terms. What do I mean by that? I didn’t want to invest in a bunch of star trekking equipment, new lenses, or have a complicated post-production job to do afterward. Don’t get me wrong, I’d love to do that one day but for now, I just want to have an experience that is relaxing and fun.
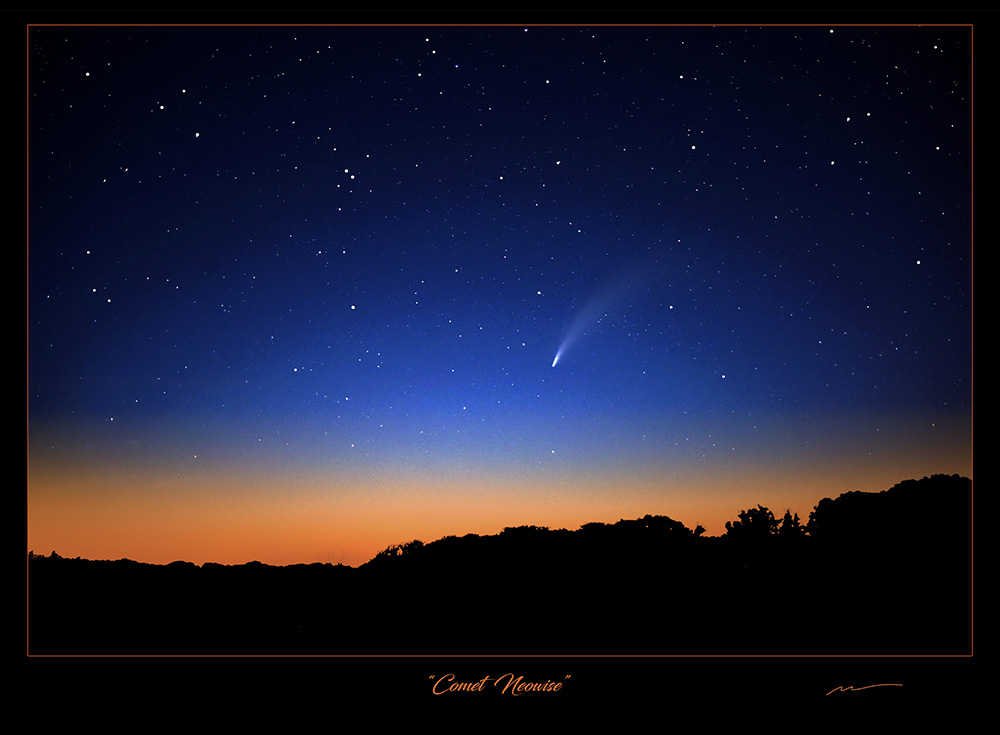
I photographed the comet Neowise during the height of the pandemic a couple of years ago. There was something about that comet that paralleled our existence of being isolated.
You could faintly see Neowise with the naked eye. But when you photographed it with a time exposure? I think I let out a gasp at how much detail came thru. It was truly spectacular. I’m more experienced now and I wish I could photograph it again!
Let me share right now that your images are not going to look like the NASA Hubble telescope images. When you see them initially in the RAW form you’re going probably to wonder if you captured anything worthwhile! But post-production will bring out the best of the file and I guarantee you’ll be happy unless you’ve underexposed horribly or have a noisy sensor.
While there are spectacular images of the cosmos you can enjoy and download for free, there’s something about doing astrophotography yourself and trying to create the best final image you can that makes it so rewarding.
The best part is you can use just about any camera that has an adjustable shutter speed and F stop to create some great images. I have even used my new iPhone to create something nice but the reality is, life is a lot easier with a dedicated pro camera.
Here’s the ideal minimum you need –
- A digital camera that has the ability to manually adjust Shutter speed, F-Stop and ISO.
- At least 20+ mp capture
- A solid tripod.
- Ability to capture in RAW file
Here’s a short list of items & tips that help give you even better results
- A remote trigger (although you can use the camera’s timer setting to avoid camera shake when pressing the shutter button)
- Mirror up. If your camera has a mirror & offers a mirror-up option it will also prevent one less potential for camera shake when the shutter opens.
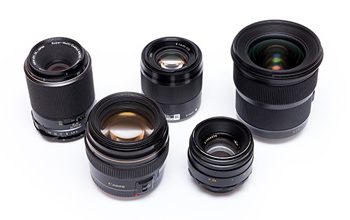
- A good wide-angle lens
- A camera lens that has a f/stop of 1.8 or 2.0
- Greater resolution than 20 MP
- Location – find a place in the country away from city lights.
- Pick a date and time when there is no moon in the sky for the best starry sky capture.
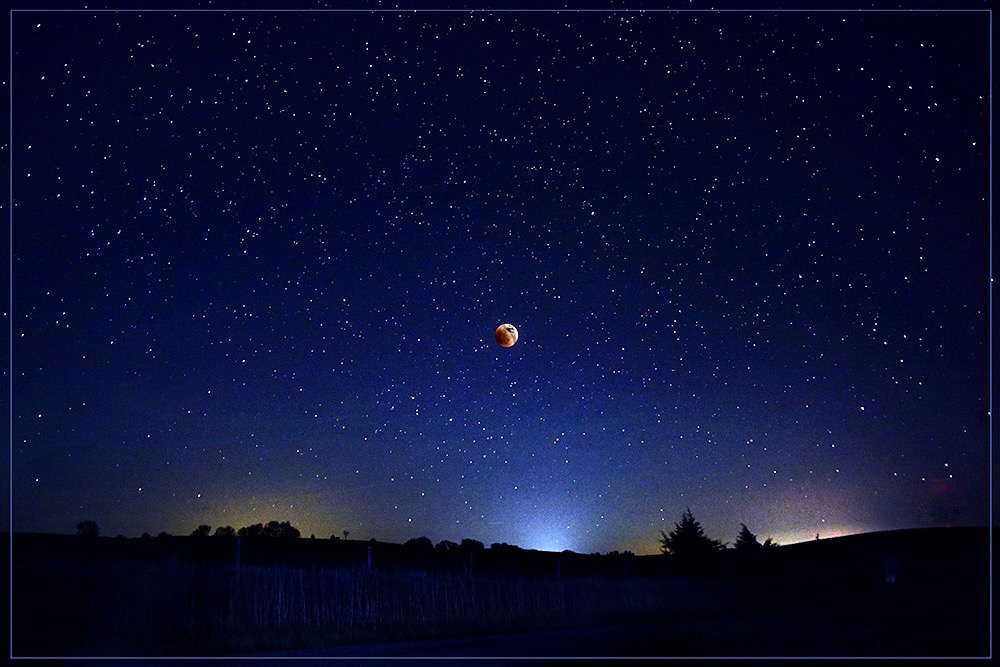
- If you’re looking to photograph the moon, the crescent stages give better crater textures.
Happy moon and star hunting!
