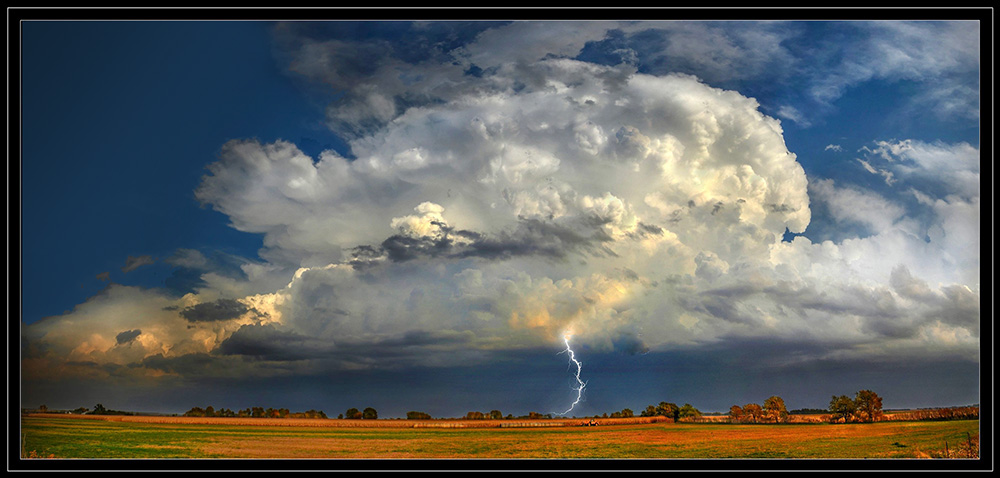
Landscape photography can be done with any camera and any lens. From your smartphone camera to your high-end pro camera, you can create some of your best images.
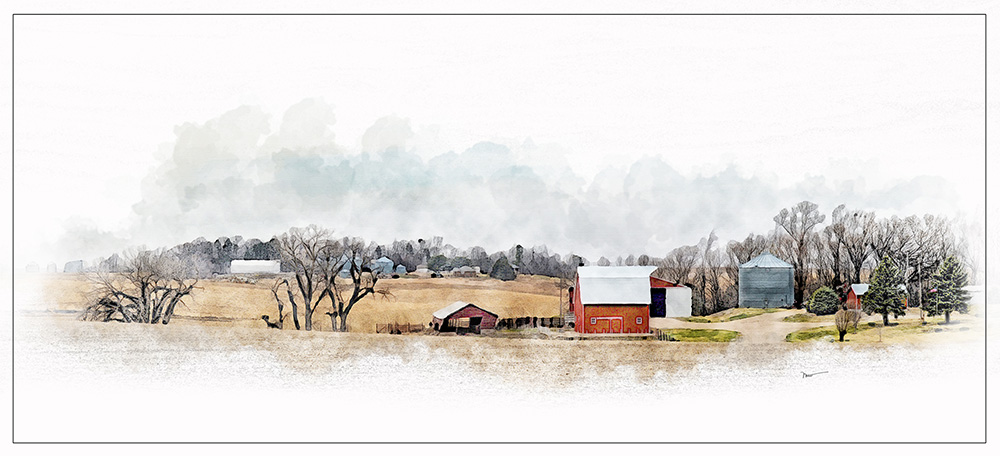
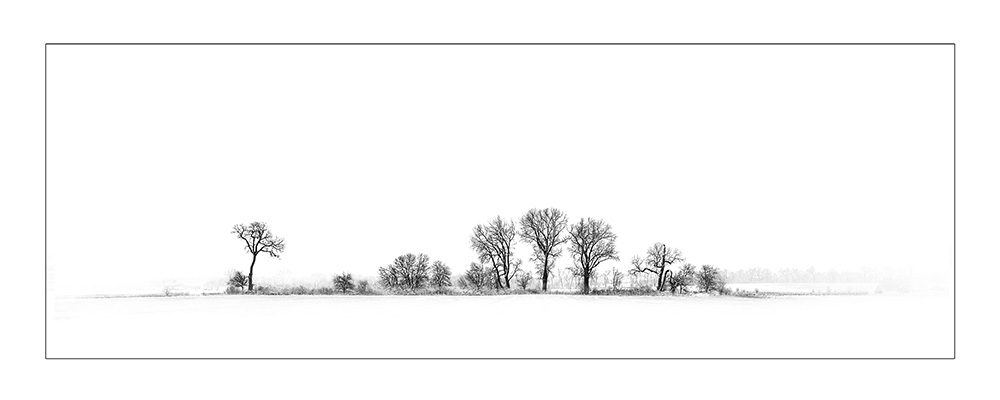
Regardless of what you use to capture your images, you need to find something interesting to photograph. Here in Nebraska, It could be a single tree in a wide-open field. Or the top of a barn peeking out from under the rolling fields. Or it could be a winding road leading down into a valley.
No matter what you decide to photograph, here are some tips to help give your image more impact:
- Lens choice. From ultra-wide to ultra-zoom you can create something that looks totally different of the same subject. While prime lenses are ideal for the highest quality, zoom lenses make for faster and more convenient photography. I tend to use my 28-300 zoom 80% of the time and use my 14mm prime the rest of the time.
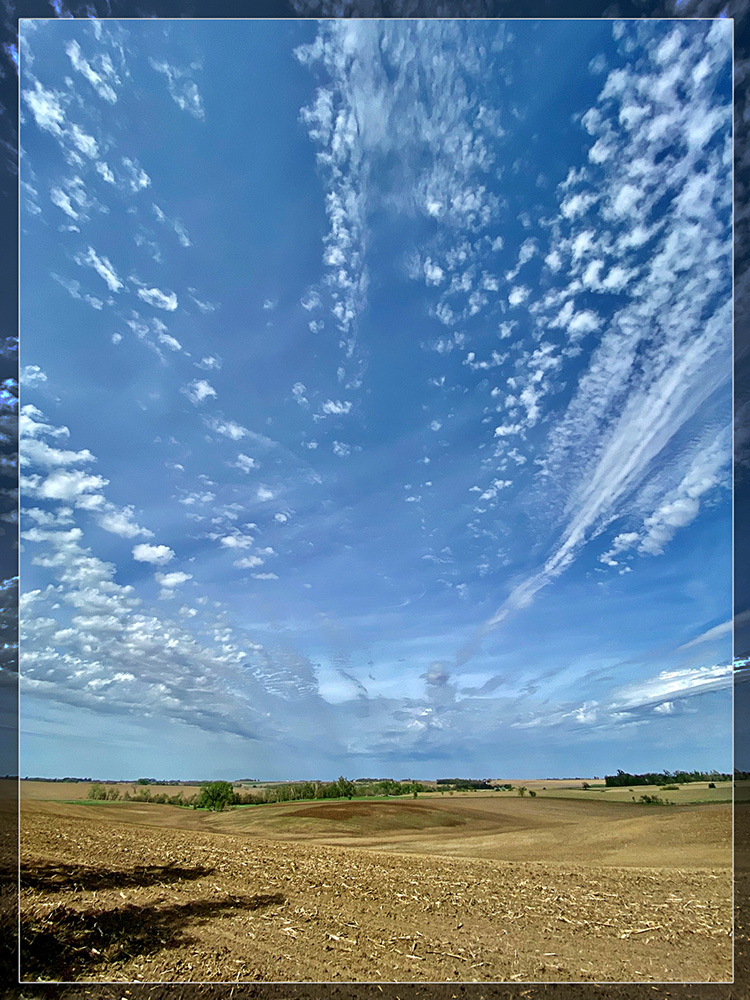
- Perspective. View from slightly above or slightly below can change the feel of an image.
- Composition. Avoid putting your landscape horizon in the center. This is a common mistake made by many new photographers and while it’s not a “never do this” rule, you’ll rarely go wrong avoiding this. Follow the rule of thirds with this.
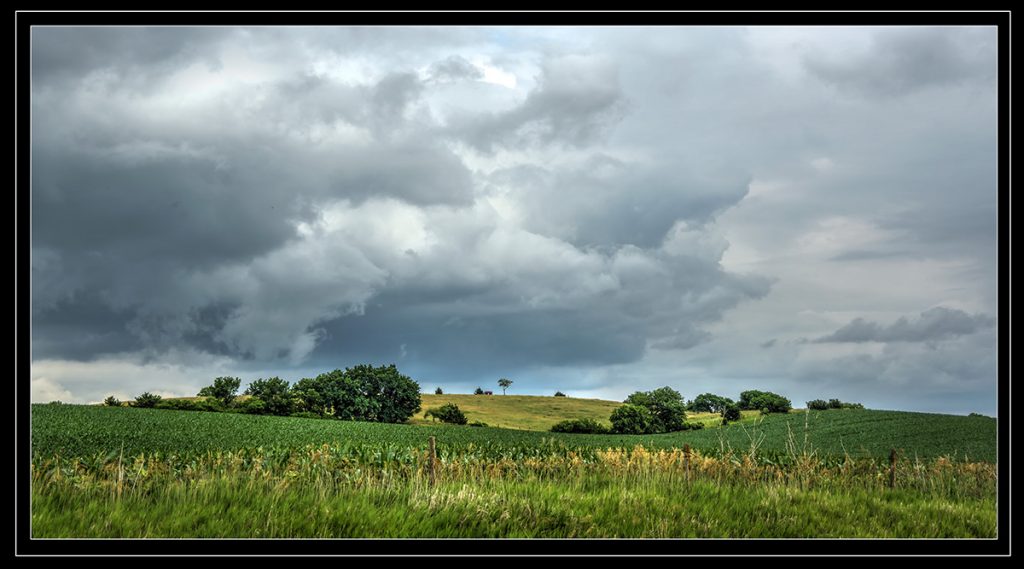
- Evaluate your scene. The time of day, types of clouds in the sky, detail in the foreground, the position of the sun and contrast in the scene can all factor in on how you capture the landscape.
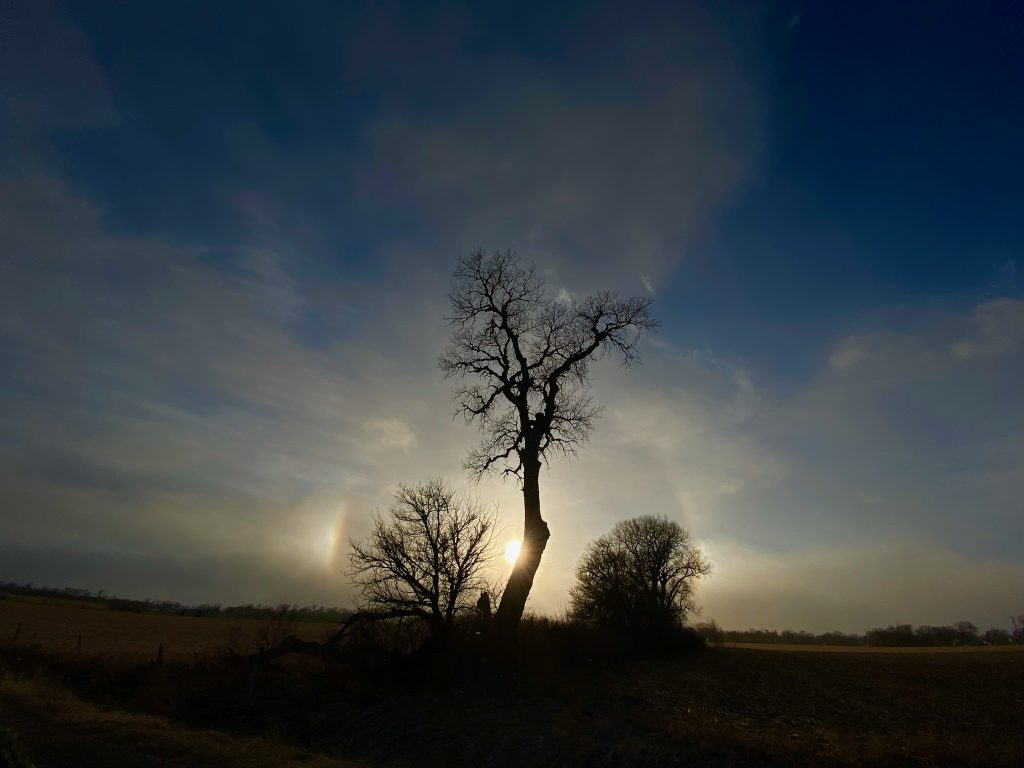
- Shoot in Raw. This gives you the most control over your scene in post-production. You have more forgiveness in exposures and the ability for combining bracketed images to get maximum detail in shadows and highlights.
- Bracket your scene. By shooting multiple exposures of your scene you’ll be able to go in in postproduction and have detail in highlights and shadows one single shot will not be able to show. Ideally use a tripod for this but you can hand hold and try to stay as still as you can for easy frame line-up later when layering.
- Use HDR software. Software such as Photomatix software makes HDR fast, easy, and fun as you have sliders to let your imagination run wild. Plus it’s very affordable.
- Polarizing filter. Besides bracketing, Using a polarizing filter can give more dramatic sky detail, and eliminate or greatly reduce glare in water scenes and glare in windows of architectural scenes. By just a rotation of the filter, you can control the degree of the effect from minimal to dramatic. Filter range anywhere from $20 – $200. In my opinion, you’ll find filters that run in the $40 price range will fit most people’s quality and effectiveness standards. At least to start with.
- Post-production. Straightening perspectives, cropping, exposure corrections, HDR effects, painterly presentations, and final digital matting with your signature can give you that final pop to deliver the scene you have in mind
- A clean lens. Dust and humidity can affect your lens glass and degrade your image without even realizing it. Take time to clean inspect and clean your lenses before and during landscape photography.
- A sturdy tripod. If you are doing serious landscape photography the sharpest images are taken with a tripod, even with the anti-vibration technology. Especially if you are using a long lens or shooting in low light. And there are times when you want to shoot a scene with some moving water or even a moving cloud to create a blur. A solid tripod is a must as you use long shutter speeds.

Remember, the best camera to use is the one you have with you. Everything you photograph doesn’t have to be a masterpiece to enjoy. Sometimes it’s just the experience of walking around, enjoying your surroundings, and taking some images. Even if it’s just with your smartphone.











People reacted to this story.
Show comments Hide commentsGreat photos. Miss working with you
Comments are closed.