How do you learn light Painting? By doing at least 50 attempts, which is what Joel Grimes suggests on how to get good at something. He’s not wrong. You learn by leaps and bounds in your first 10 attempts!
But where do you start? My recommendation is to get inspired by others who have created images you like. There are all sorts of how-to videos on YouTube and plenty of still images when you do a Google search for “Light Painting”.
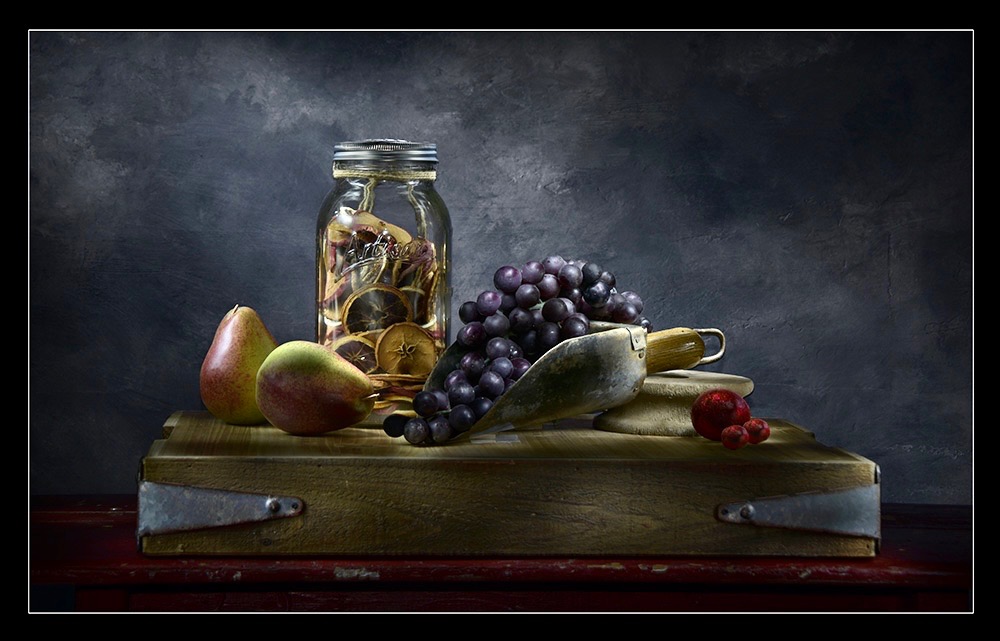
As you get inspired to try your first attempt my recommendation is to start with something fairly small. Something like a still life. If you start with something too big you’ll get in over your head quickly and get overwhelmed in post-production.
If you see an image that someone else has created that you have similar props for, start by trying to copy what they did. Study how the lighting looks and plan your painting technique accordingly. You’ll learn an awful lot by having something to compare to what someone else has done.
The hardest things to master initially are the amount of time your light should be on your subject, where it should be, and when to stop.
You will learn early on why you work in layers with Photoshop. Rarely do you have success with the very first exposure no matter how talented you are. You’ll also find that there are many different looks you can get with light painting. In fact, that’s the beauty of light painting. Each attempt is a tad different each time. It’s up to you in post-production to determine which is right for your taste.
Here are a few things that might help you get started –
- Have a dependable, sturdy tripod.
- Have a good torch (flashlight) of 500 lumens or more like this ONE
- Modify your torch by adding a 90-degree elbow with a 2-inch extension that has a 45-degree cut on the end. You will use that cut side to help stray light from appearing in the light painting part.

4. Start with an initial exposure of 30 seconds, ISO 100, F 14. The amount of time is variable as you’re shooting in total darkness. So the only thing time does is chop your attempts into segments for you to layer together in post-production.
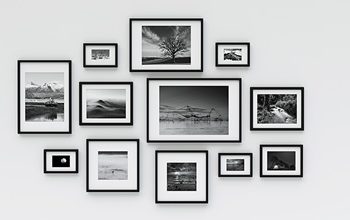
5. Background? Some people like the jet-black background look but I personally like a wall-type background that has a little bit of texture and paint detail like this one. I think it helps give it more depth and interest.

6. Start with lighting your product from overhead and sides.
7. Review your images on your computer. Not the back of your camera! The back of your camera will deceive you in a totally dark room.
8. After a few exposures are made, remove your camera card to download & check your files. That way you can just reinsert and shoot more that can be used in addition to those without having to align additional images taken at a different time.
9. Turn off everything that emits light, except for the torch obviously, including your watch as you need to work in a totally dark room.
10. Use a wireless shutter release of the timer on the camera to prevent camera shake.
Have fun with this unique process!